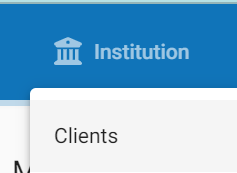
A bank client is a person or entity that maintains a financial relationship with a bank, utilizing various banking products and services such as deposit accounts, loans, credit cards, investment services, and other financial services. To create a client, go to: the Institutions menu >> Clients.”

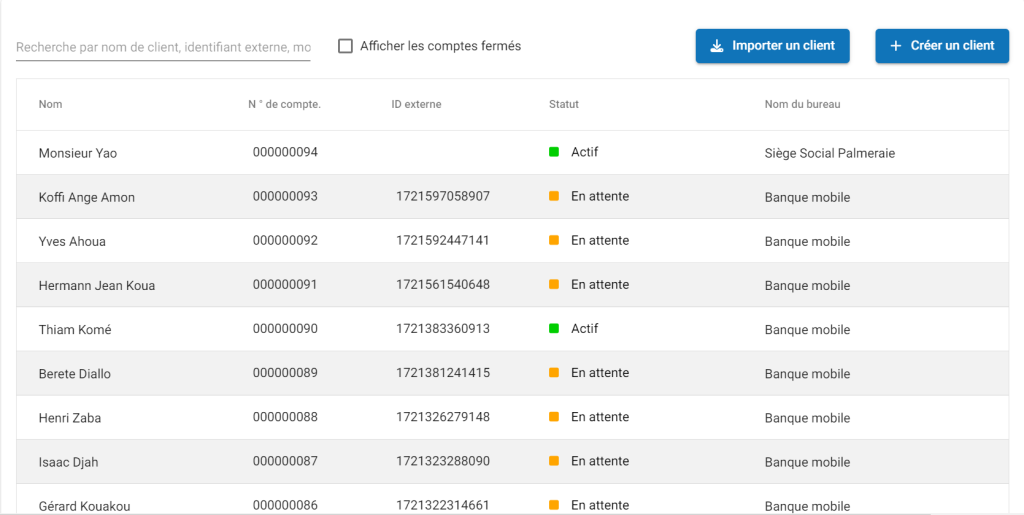
After clicking on the customer sub-menu, you will see the window (see screenshot on the right) with a search bar to facilitate finding a client, and a list of clients will be displayed if there have been any registrations, with their names, account numbers (client number), status, offices, and staff. If you see an orange square in the status field among the names, it means the client is pending; green means active. You have a button to import a client and a button to create a client. Click on the create a client button and the form below will appear.
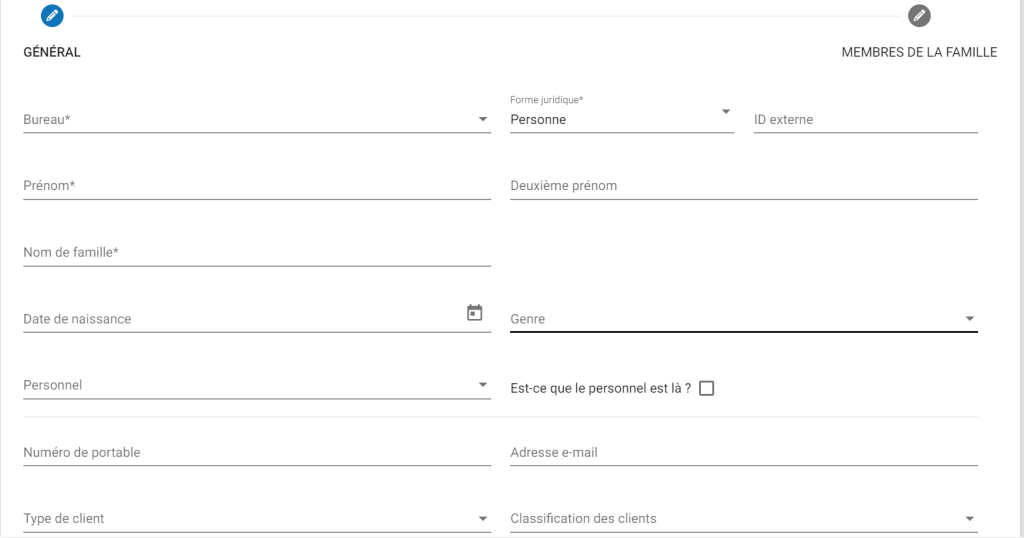
Note: When filling out the form, note that fields marked with an asterisk (*) are mandatory.
Note: You can search for the required field using the Filter by Name search bar at the top of the list.
Selecting the “Legal Form” field as PERSON: If you are creating a legal form for a person, select Legal Form: PERSON.
Filling out the Client Type field: To fill out the Client Type field, go to: Admin >> System >> click on Manage Codes. Once you have clicked on the Manage Codes button, the Phénix application will generate a list of all the codes in the Phénix system for your organization. You need to click on each code to assign one or more values (to save). These standard codes can be customized according to the terms used by your organization. The information provided here will appear in the system’s dropdown menus. Adjust the numbers to reflect the desired order for the menu. This may include values such as single, married, widowed, etc.
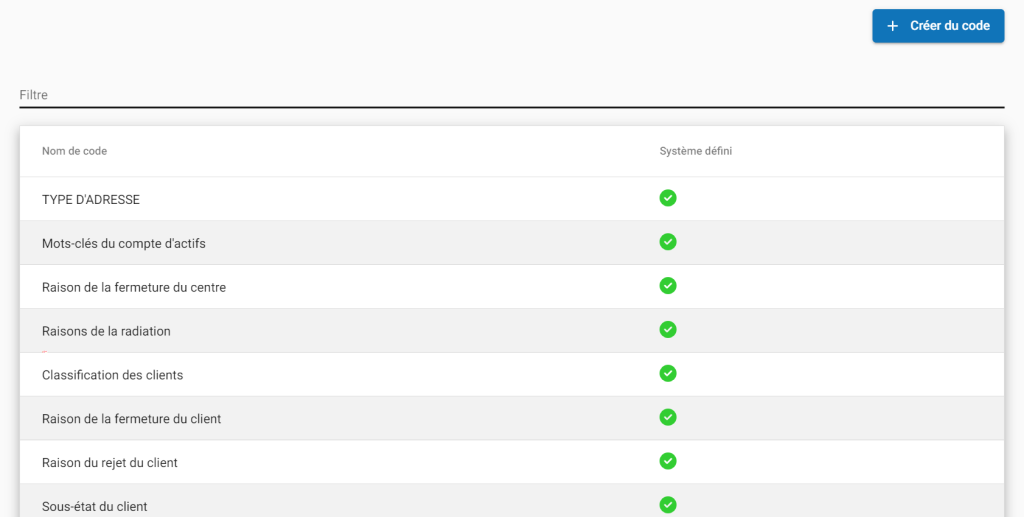
Manage Codes
To see how to create codes, click on the link manage codes.
For the Classification field:
To fill out the Classification field in Manage Codes, follow the same process as for gender and type of client, that is, go to Manage Codes to create it..
Client classification data values can be married, single, etc., depending on your structure.
Selecting the legal form field as ENTITY
If you are creating a legal form for an entity, select Legal Form: ENTITY.
For the Client Type, see Manage Codes and select Legal Form: ENTITY.
For Client Classification, see Manage Codes and select Legal Form: ENTITY.
For Primary Business Sector, see Manage Codes and select Legal Form: ENTITY.
For Constitution (mandatory field), see Manage Codes and select Legal Form: ENTITY, then select the predefined dropdown lists such as pvt ltd, public ltd, etc.
Active: By checking the box, it activates the client at this level. You can provide the activation date for the Activation Date field.
Open a Savings Account: Check this to create a savings account for the client during client creation. After checking, an additional field will appear, Select Savings Account, to select the savings product.
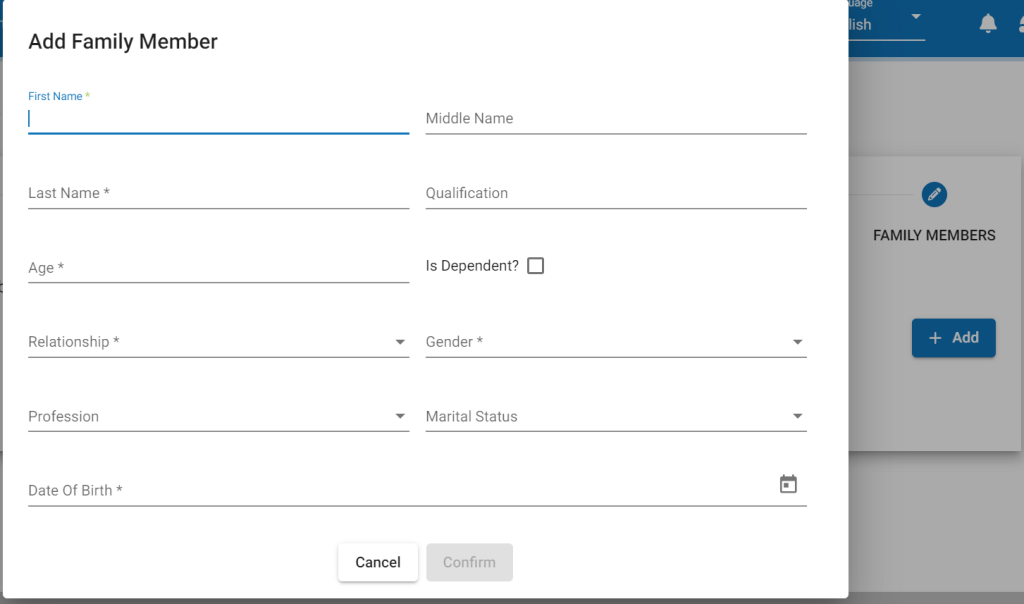
Once all this is done, you must then provide some personal information about your family by clicking on Next, as shown in the image below:
The person or entity must select a family member who can be contacted in case the client is unavailable and provide details about them.
Edit
To edit a client’s information, click on the client you want to modify, then click on the hamburger menu >> Modifiers. Next, edit the information and submit.
Activate Client Status
To activate it if it was not done during creation, click on the concerned client, then on the hamburger menu >> Actions >> Activate.
NB: If you notice it has turned green in Actions, it means it is activated; otherwise, it is not activated.
NOTE: For the actions mentioned below, we need to update the reasons as indicated in the code values (for more information, go to Admin >> System >> Codes). To clarify, it is in Manage Codes that we create reasons, motives, etc.